
Making cinematic videos used to feel complicated to me. I thought I needed an expensive camera, professional editing software, and years of experience to achieve that polished, movie-like look.
After spending a lot of time editing videos, I realised that creating cinematic videos is more about storytelling, timing, color grading, music, and sound design than expensive equipment.
One of the tools I enjoy using for quick edits is CapCut. It offers enough powerful editing features to help create stunning cinematic videos without making the editing process unnecessarily complicated.
Table of Contents
In this guide, I’ll show you how I make cinematic videos in CapCut, from selecting clips to color grading and exporting the final video.
What Makes a Video Look Cinematic?
Before opening CapCut, I think it’s important to understand what actually makes a video feel cinematic.
There isn’t one magic filter or effect that instantly makes footage cinematic. For me, the look usually comes from several things working together:
- Good-quality footage
- Intentional camera movement
- Smooth cuts
- Appropriate music
- Slow motion used at the right moments
- Consistent color grading
- Natural sound effects
- Good pacing
- A simple visual style
I’ve learned that adding more effects doesn’t necessarily make a video better.
In fact, some of my best edits have been the simplest ones.
1. Choose the Right Footage
The first thing I do is go through all of my footage before starting the actual edit.
I don’t immediately drag every clip onto the timeline. Instead, I look for clips that have something interesting about them.
For example, if I’m editing a travel video, I might choose:
- A wide shot of the location
- A close-up of an object
- A walking shot
- A moving camera shot
- A detail shot
- A final establishing shot
I try to think about how each clip contributes to the story.
Don’t Use Every Clip You Record
This was one of the biggest mistakes I made when I started editing.
I used to think that more footage meant a better video.
It usually didn’t.
Now I prefer using fewer, stronger clips. If a shot doesn’t add anything to the story, I remove it.
This makes the final video cleaner and easier to watch.
2. Create Your Project in CapCut
Once I’ve selected my footage, I open CapCut and create a new project.
Before editing, I make sure the project format matches where I plan to publish the video.
For example:
- 9:16 for Instagram Reels, TikTok, and YouTube Shorts
- 16:9 for standard YouTube videos
- 1:1 for square social media content when appropriate
I prefer deciding the format before doing most of the editing because changing it later can mean repositioning several clips.
3. Build a Rough Cut First
My next step is creating a rough cut.
At this point, I don’t worry about fancy transitions, filters, or effects.
I simply put the clips in the order that makes the most sense.
Then I watch the sequence and start removing unnecessary parts.
This is where I focus heavily on pacing.
If a clip feels boring after two seconds, I don’t keep it for five seconds just because I like the footage.
I cut it.
My Simple Rule for Better Pacing
I ask myself:
“Is this shot still interesting, or am I keeping it because I’m attached to it?”
That question has helped me remove a lot of unnecessary footage from my projects.
4. Choose Music Before Finalising Your Cuts
Music can completely change the feeling of a video.
I usually choose the music relatively early because I want my cuts to work with the rhythm of the track.
I listen for:
- Beats
- Drops
- Pauses
- Changes in rhythm
- Build-ups
- Strong musical moments
Then I place some of my important cuts around those points.
However, I don’t try to cut on every single beat.
If every shot changes exactly when the beat hits, the edit can start feeling repetitive.
Sometimes holding a shot for an extra second creates more emotion.
5. Use Simple Transitions
When I first started editing, I loved using transitions.
I wanted every clip to have a zoom, shake, spin, flash, or some other effect.
Eventually, I realised that this was making my videos feel less cinematic rather than more cinematic.
Now I mostly rely on:
- Straight cuts
- Fades
- Simple dissolves
- Subtle movement
- Occasional speed ramps
A transition should help connect two shots.
It shouldn’t distract the viewer from the actual content.
For most cinematic videos, simple editing usually works better than excessive transitions.
6. Add Slow Motion Carefully
Slow motion is one of my favourite techniques when I’m creating cinematic edits.
It works especially well for footage involving movement, such as:
- Walking
- Cars
- Sports
- Water
- Nature
- Product shots
- People moving through a scene
But I don’t slow down every clip.
If the entire video is slow motion, the effect loses its impact.
I prefer using slow motion for specific moments that deserve more attention.
Don’t Forget About Your Original Frame Rate
If you’re planning to slow down footage, recording at a higher frame rate can give you more flexibility.
For example, footage recorded at a higher frame rate can generally be slowed down more smoothly than standard frame-rate footage.
The exact settings depend on your camera and the final frame rate you’re using, so I always try to plan this before shooting rather than trying to fix everything during editing.
7. Try Speed Ramping for Movement
Speed ramping is another technique I sometimes use to make a sequence feel more dynamic.
Instead of keeping a clip at one constant speed, I gradually change its speed.
For example, I might start a clip at normal speed, speed it up during a movement, and then slow it down when the important moment arrives.
I find this particularly useful for:
- Travel videos
- Sports edits
- Car videos
- Fashion videos
- Action footage
The important thing is not to overuse it.
A speed ramp should have a purpose.
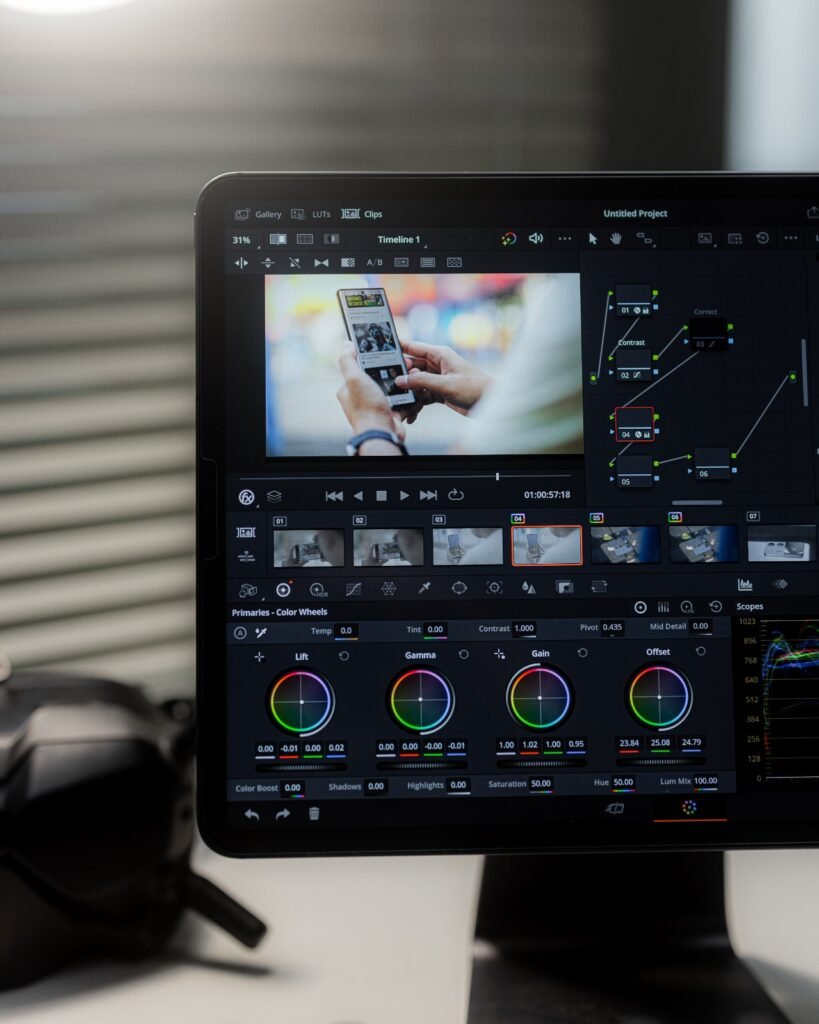
8. Color Grade Your Footage
This is probably the part of cinematic editing I enjoy the most.
Once my cuts are finished, I start working on the colors.
I normally begin with basic corrections rather than immediately applying a dramatic filter.
I look at:
- Exposure
- Contrast
- Highlights
- Shadows
- Saturation
- Temperature
Then I adjust the overall mood.
For example, I might use warmer tones for a relaxed travel sequence or cooler tones for a darker, more dramatic scene.
Don’t Overdo the Color Grading
One of the easiest mistakes to make is pushing the colors too far.
Extreme contrast, heavy teal-and-orange effects, or excessive saturation can make footage look artificial.
I usually make smaller adjustments and then watch the entire sequence again.
My goal isn’t to make every color look extreme.
My goal is to make the footage feel consistent.
9. Make Your Clips Match
If you’re combining footage from different locations or cameras, you may notice that some clips look warmer, darker, or more saturated than others.
This can immediately make an edit feel inconsistent.
I try to correct those differences before applying the overall look.
For example, if one clip looks noticeably warmer than the next, I might adjust its temperature until the transition between them feels more natural.
This small step can make a surprisingly big difference.
Visuals are only half of the experience.
10. Add Sound Effects
Sound can make an ordinary edit feel much more immersive.
I often add subtle sound effects such as:
- Whooshes
- Footsteps
- Camera clicks
- Environmental sounds
- Impacts
- Movement sounds
I keep them relatively subtle.
The viewer shouldn’t feel like they’re listening to a collection of random sound effects.
Instead, the sounds should naturally support what’s happening on screen.
11. Use Text Without Overcomplicating It
If I’m making a cinematic video, I usually keep text simple.
I focus on:
- A clean font
- Good spacing
- Short text
- Consistent positioning
- Simple animation
For short-form content, captions can be much more prominent because many people watch social media videos without sound.
For cinematic B-roll, however, I prefer giving the footage more space.
12. Watch the Complete Video Before Exporting
This is one of the most important steps in my editing process.
When I think I’m finished, I watch the entire video from beginning to end.
I’m looking for:
- Awkward cuts
- Clips that are too long
- Clips that change too quickly
- Audio jumps
- Color inconsistencies
- Spelling mistakes
- Distracting effects
- Unnecessary transitions
I often find several small problems during this final watch.
Sometimes I’ll even leave the project for a while and come back to it later.
When you’ve been staring at the same timeline for hours, it’s easy to stop noticing obvious mistakes.
13. Export Your Cinematic Video
Once everything looks and sounds right, I export the final video.
The settings I use depend on where I’m publishing the video.
For social media, I make sure the aspect ratio, resolution, and frame rate are appropriate for the platform.
For vertical content, 9:16 is generally the format I work with.
For standard YouTube videos, I normally use 16:9.
I also try to avoid repeatedly exporting and re-importing videos because additional compression can reduce image quality.